
A self-service kiosk can look convincing in a product rendering and still be frustrating to use. A customer misses a button, a reflection hides the instructions, or a maintenance engineer discovers that replacing the monitor requires dismantling the cabinet. These problems rarely begin with the screen size alone. They begin when the display is selected before the application has been properly described.
For an original equipment manufacturer, choosing a kiosk touchscreen means balancing the user experience with mechanical integration, environmental conditions and service requirements. The right question is not simply “Which monitor should we buy?” It is “What must this interface do, in this installation, throughout the life of the equipment?”
This guide takes you through that decision in a practical order. It is intended for kiosk manufacturers, system integrators and technical buyers preparing a new design or updating an existing terminal. The examples describe design considerations, not guaranteed specifications for any particular product.
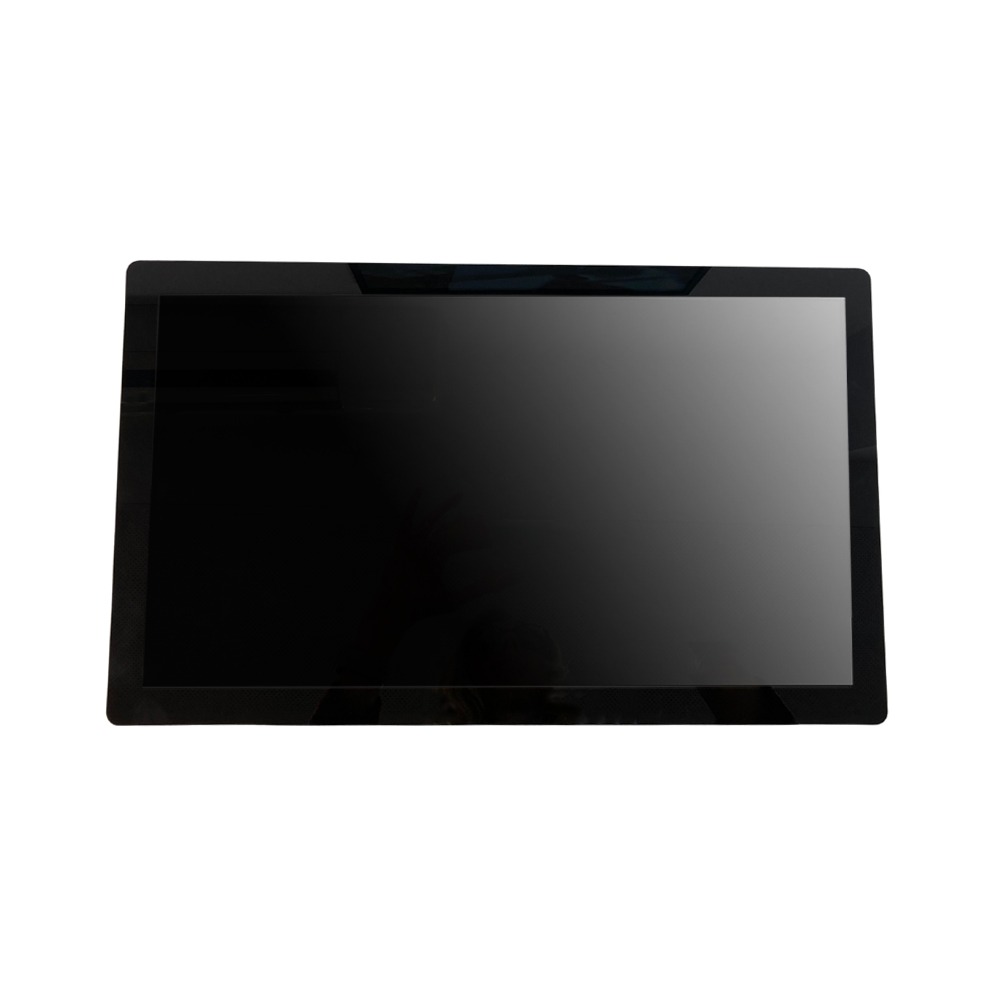
1. Start with the task, not the diagonal
Imagine two terminals with the same display size. One helps visitors find a room in an office building. The other lets customers assemble a food order, choose options and confirm payment. Their interaction requirements are different even if their cabinets have similar dimensions.
Write down the complete task before discussing hardware. Who approaches the kiosk? What do they need to accomplish? How much information appears at each step? Are they standing, seated, carrying luggage or wearing gloves? Will they use it once a year or several times a day?
For context on customer-facing applications, see Dignity’s overview of custom touch panels for retail and industrial interfaces. Use that overview to identify the application before turning it into a hardware specification.
A useful starting document is a short user journey with screenshots of the proposed application. It lets the software team, cabinet designer and display supplier discuss the same problem. It also exposes requirements that are easily missed in a spreadsheet, such as a confirmation button positioned too close to the bezel or instructions that disappear behind reflected lighting.
2. Decide which part of the system you are buying
The terms touchscreen, touch display, monitor and panel PC are often used loosely. Clarify the boundary of supply before comparing quotations. A touch sensor detects input; an LCD produces the image; a touch monitor combines display and touch functions with the electronics needed for its specified interfaces. A computer is a further part of the system, whether separate or integrated.
If you already have a computing platform, an integrated computer may introduce unnecessary constraints. If installation space and wiring are difficult, a different architecture may deserve investigation. Neither arrangement is automatically better: the decision depends on service access, software requirements, thermal design and responsibility for integration.
Ask each supplier to state exactly what is included: display assembly, touch controller, video electronics, power supply, cables, brackets and documentation. Dignity’s product range is a starting point for discussing the appropriate supply boundary rather than assuming that every project needs the same assembly.
3. Match size and orientation to the interface
A larger screen creates more room for information, but that space has to be useful. It may also require a larger cabinet, change the user’s viewing position and affect the available mounting space. A compact terminal can be suitable for a short transaction while becoming awkward when asked to display a complex catalogue.
Evaluate a realistic application mock-up at the intended physical size. Check text, diagrams, language choices, touch targets and the on-screen keyboard. Resolution describes the pixel matrix; it does not establish whether a particular user can comfortably read and operate the interface.
Portrait orientation may suit a vertical sequence of choices, while landscape may suit a different layout. Treat these as design options, not rules. Confirm that the selected display supports the intended installation orientation and evaluate it from the actual viewing positions. Record the active image area, external dimensions and the cabinet opening separately: the diagonal is not enough for mechanical design.
4. Check reach, visibility and accessibility together
The screen belongs to a complete installation. Its position relative to the floor, its angle and the depth of the cabinet all influence who can use it. A layout that works for a standing engineer during a workshop demonstration may be difficult for a seated visitor or somebody with limited reach.
Test a physical mock-up with representative users and review applicable accessibility requirements for the market and service. Include any payment device, ticket outlet, scanner or collection point. A reachable screen does not solve a terminal that places the next essential step beyond reach.
Software also matters. Clear instructions, sufficient contrast and understandable recovery messages can make a larger difference than an impressive display specification. Discuss alternative interaction methods where necessary. This guide is not an accessibility certification checklist; the relevant obligations and acceptance criteria must be established for the complete kiosk and its deployment.
5. Choose the mounting concept early
An open frame monitor is designed for integration into equipment rather than use as a finished desktop monitor. That makes the interface with the cabinet particularly important. The mechanical design must establish how the assembly is located, supported, retained and accessed.
Request a dimensioned drawing and, where available, a suitable mechanical model. Review mounting points, tolerances, fastener access, cable exits and the relationship between the touch area and the cabinet opening. Check how the front surface meets the surrounding structure and whether the design permits the agreed sealing arrangement.
Do not treat the sample’s visible fit as proof that the production design is complete. Review the intended fastening method and assembly procedure with the supplier. Avoid transferring cabinet loads onto parts of the display assembly that were not designed to carry them. Discuss project-specific options through Dignity’s customization service before finalising the enclosure.
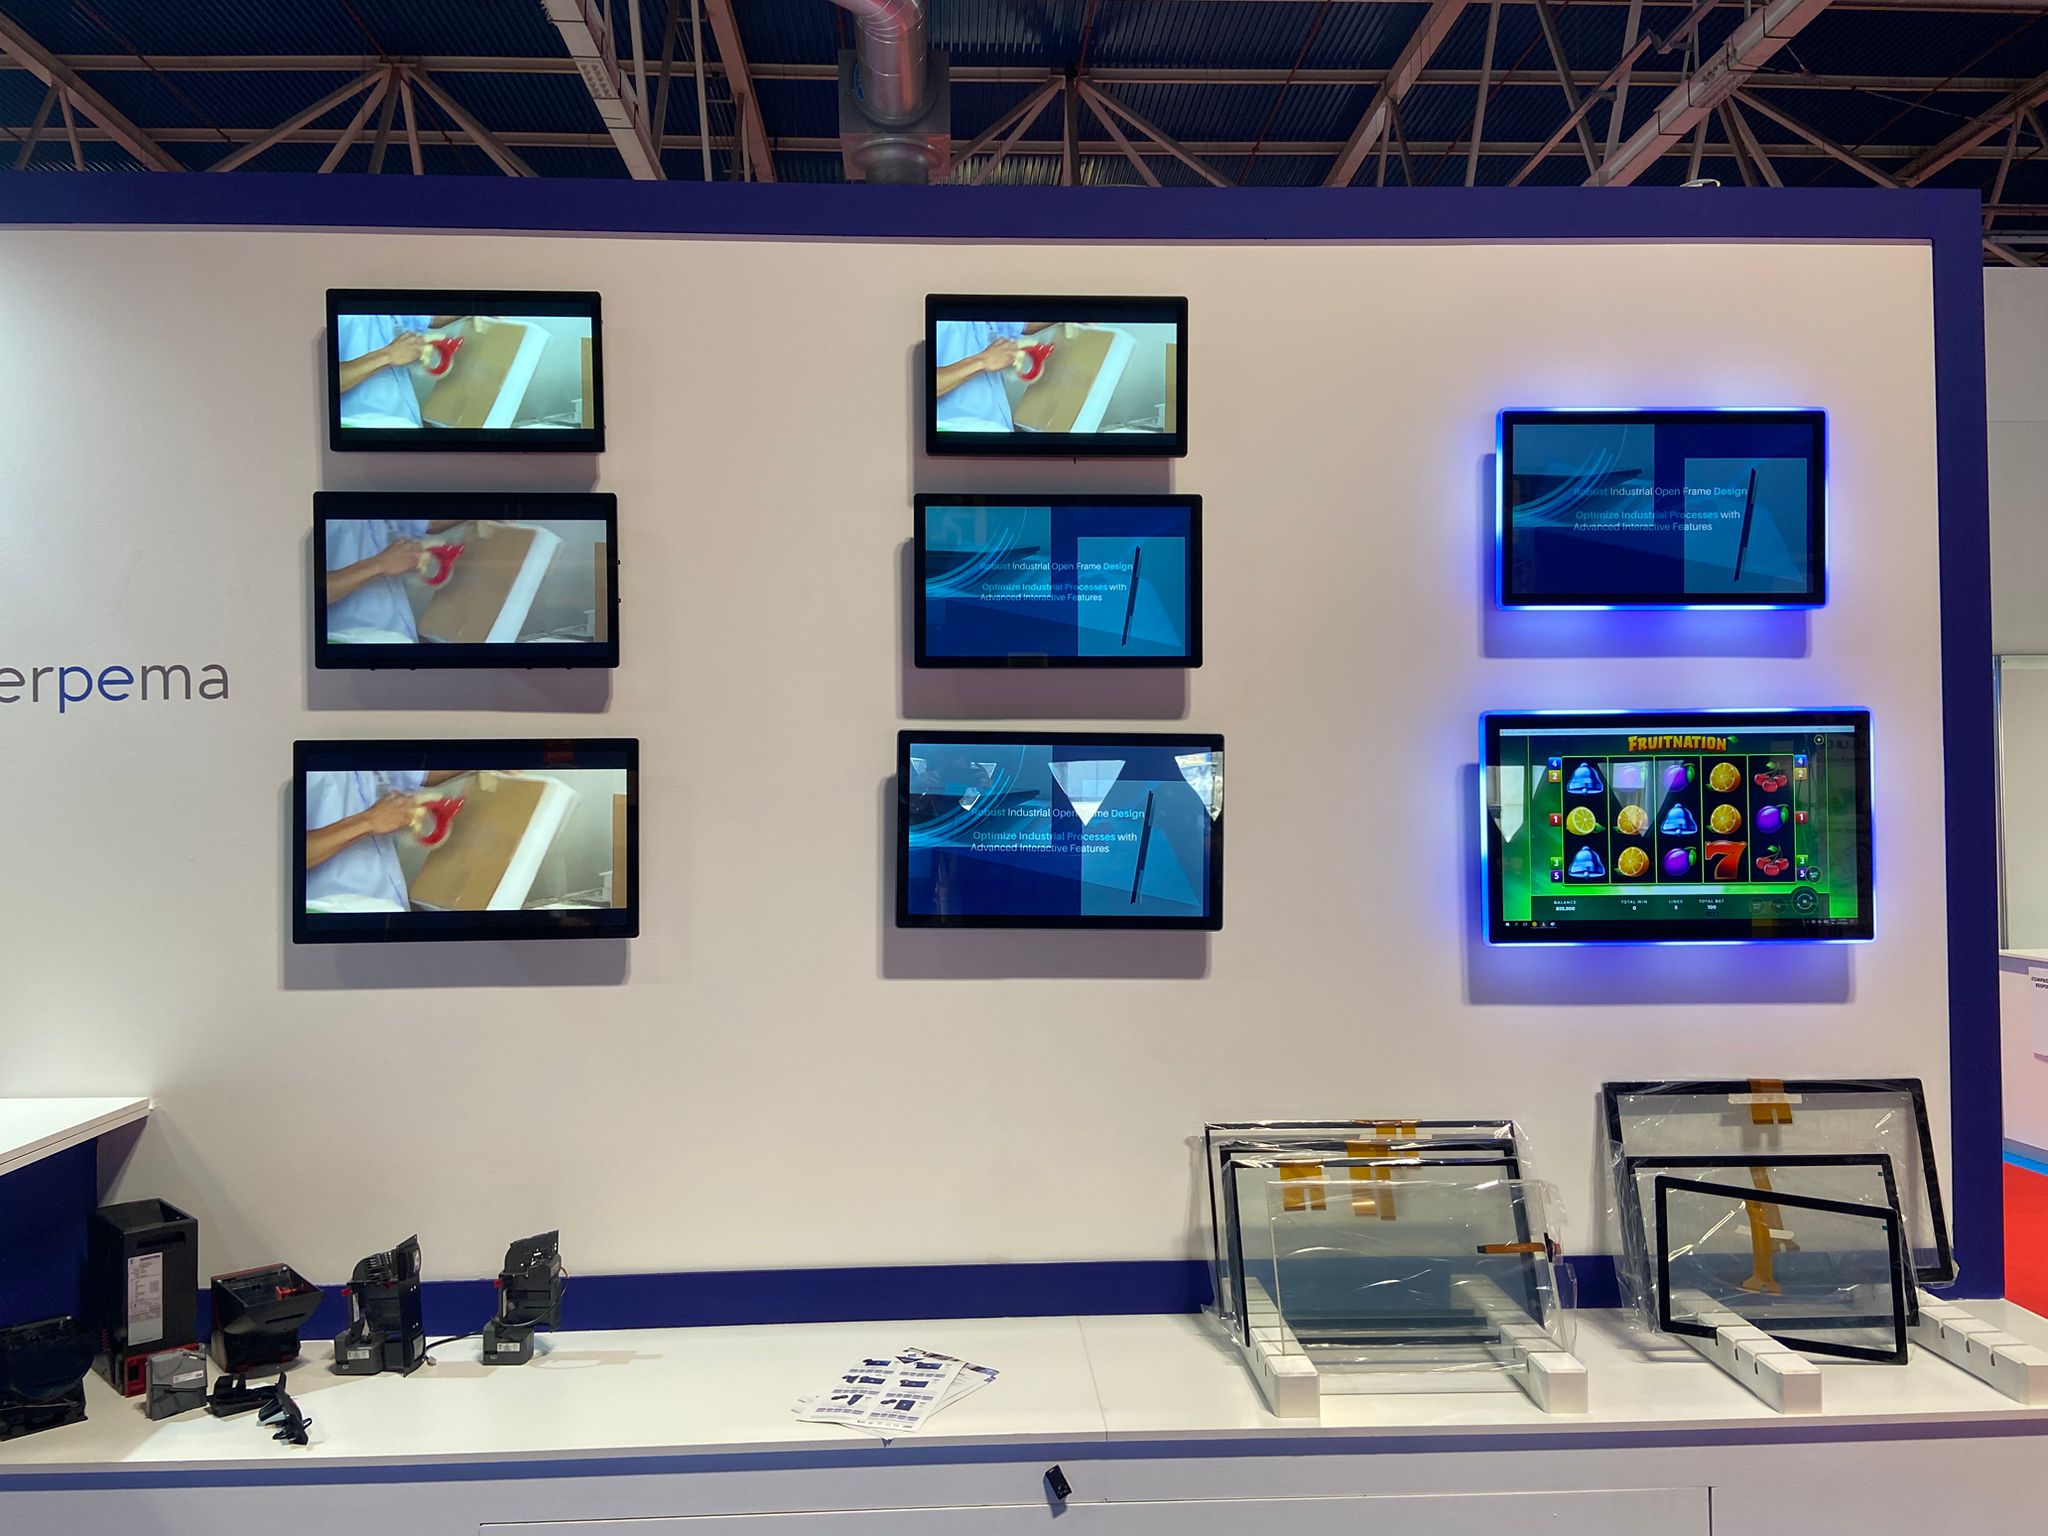
6. Specify PCAP performance as a tested requirement
Projected capacitive, commonly called PCAP, is a touch technology worth considering for many public interfaces. However, the technology name is not a complete performance specification. The sensor, controller, cover material, configuration and installed environment must work together.
Describe the interactions that the application needs. Does a transaction use simple taps, scrolling, dragging or gestures? Does it need simultaneous touches? Avoid asking for an impressive number of touch points if the application has no use for them. Focus on successful completion of representative tasks, including operation near the edges of the active area.
Glove, moisture and noise performance must be confirmed for the selected controller, sensor and cover construction. A feature available in one implementation should not be assumed for every PCAP assembly. Start with the project requirements and ask for evidence from representative hardware. Dignity’s guide to designing a custom touchscreen provides broader context on defining requirements, selecting components and testing the finished assembly.
7. Describe gloves, moisture and contamination precisely
“Works with gloves” is an incomplete requirement. A thin disposable glove and a thick work glove are different test conditions. So are an isolated water droplet, a damp fingertip and a surface being wiped during cleaning. A supplier needs enough detail to evaluate the intended use.
List the glove materials and representative samples, the expected moisture conditions and the user actions that must remain available. Define what the system should do when reliable interaction is not possible. Preventing an unintended action can be as important as recognising an intended touch.
Use the final cover material, controller configuration and cabinet arrangement when evaluating these conditions. Record both successful interactions and false activations. If a kiosk will be used outdoors, do not assume that a successful dry indoor demonstration answers the wet-use question. The acceptance criteria should describe observable behaviour rather than relying on broad terms such as weatherproof or industrial.
8. Evaluate the cover glass as part of the assembly
The front surface affects appearance, cleaning, integration and touch behaviour. Discuss its dimensions, material, thickness, edge treatment and any printing or surface treatment required by the design. Ask which choices are standard and which require engineering assessment.
Increasing cover thickness is not a universal shortcut to a better product. The complete construction and controller configuration must still support the intended interaction. Likewise, a surface treatment chosen to address reflections should be evaluated with the real display content and viewing conditions.
If the kiosk will be cleaned frequently, identify the proposed cleaning products and method. Ask for written compatibility guidance for the actual glass, coating, adhesive and surrounding materials. A generic statement about glass does not establish the suitability of every assembled front panel. Where necessary, agree a test using representative samples before committing to production quantities.
9. Assess readability at the installation site
Readability depends on more than the brightness number printed on a data sheet. Reflections, viewing angle, cover construction, interface contrast and the direction of ambient light all influence what the user sees. An indoor kiosk beside a large window may need more attention than its indoor label suggests.
Describe the lighting throughout the day and the likely viewing positions. If possible, evaluate the prototype in a representative location with the actual interface running. Include dark and bright screens, small instructions and confirmation messages. Consider whether a change in installation angle or cabinet design could improve the result.
For outdoor installations, the display selection and enclosure design need to be considered together. Ask how ambient conditions and solar exposure affect the proposed assembly. Do not assume that selecting a brighter panel alone establishes outdoor suitability or resolves the thermal conditions inside a closed cabinet.
10. Understand what optical bonding changes
Optical bonding fills the relevant gap between display and cover or touch components with a suitable transparent bonding material. The exact construction and process depend on the assembly. It is different from simply attaching components around their perimeter while retaining an air gap.
Reducing the air interfaces within an assembly can help address internal reflections, but the result depends on the construction. Evaluate a representative sample rather than assuming that every bonding approach delivers the same optical result. When considering this option, ask how the proposed construction affects the application, manufacturing process, repair strategy and commercial requirements.
The useful decision is not whether optical bonding is always better. It is whether the expected benefit addresses a defined problem in this kiosk. Request a representative sample if optical performance is important to the project. Confirm availability and suitability with the display supplier rather than treating a general technical explanation as a commitment to a particular bonding process or product configuration.
11. Separate front protection from whole-kiosk protection
A kiosk may present a sealed-looking front while leaving connections, ventilation openings and other parts of the installation exposed. Establish exactly which assembly and surfaces a protection claim covers. A front-facing requirement and a complete enclosure requirement are not interchangeable.
The IEC 60529 standard concerns degrees of protection provided by enclosures, expressed through the IP Code. Ask for the relevant evidence, tested configuration and installation conditions when a particular protection level is required. Do not infer a complete kiosk rating from a component description.
Also keep different requirements separate. An ingress protection classification does not, by itself, answer every question about cleaning chemicals, impact, corrosion, sunlight or temperature. Write down the actual exposure conditions and identify who is responsible for validating the finished kiosk. Avoid describing a product as waterproof when the available documentation supports only a narrower statement.
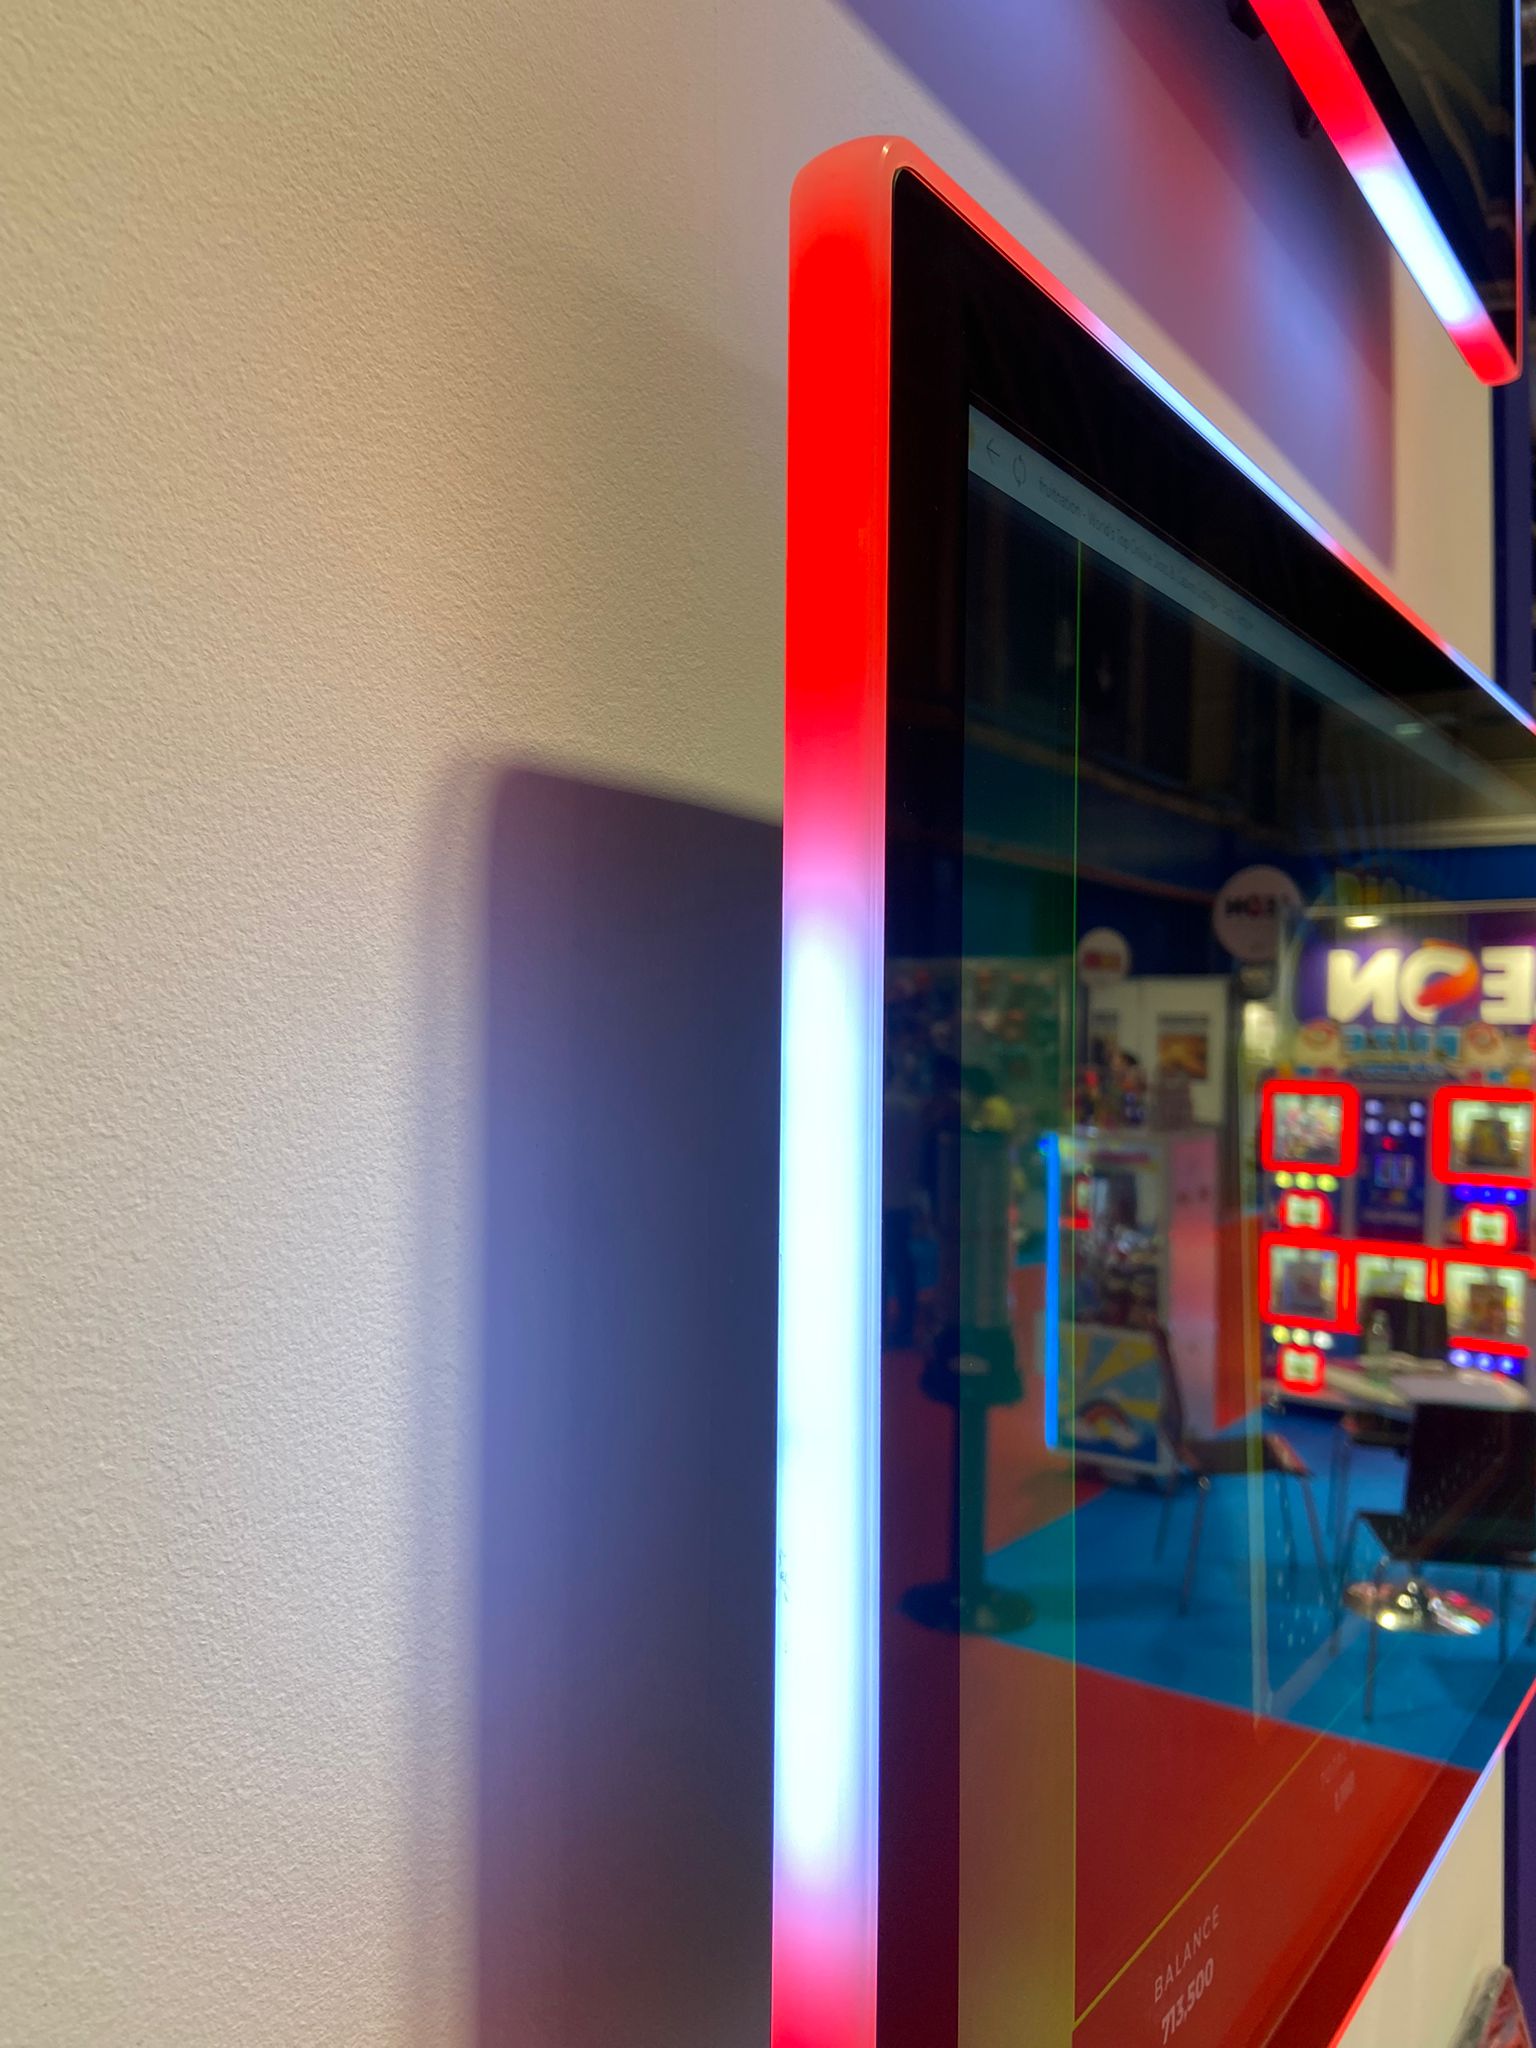
12. Confirm video, touch and power interfaces
A working picture does not prove that the complete interface is integrated. Confirm the video input, touch connection, power requirements and any separate control functions. Check compatibility with the intended computer, operating system, application and connection arrangement.
Record connector locations and cable routing on the mechanical drawing. Allow for bending space, connector retention and service access. Check whether installation staff can reach a connection after the monitor is fitted, and whether a cable can be replaced without disturbing other assemblies.
For a prototype, test normal start-up, restart, temporary disconnection and restoration of power. Confirm that the application returns to the expected state and that the intended touch behaviour is available without an engineer intervening. These tests describe the integrated system; they should not be replaced by checking a monitor with a different laboratory computer and a different cable set.
13. Test around the kiosk’s other electronics
The display is rarely the only active device inside a kiosk. Printers, power supplies, payment equipment and other peripherals can change the operating environment. A touch demonstration on an empty bench is therefore an early step, not the final validation.
Build a representative electronics arrangement with the intended cabling, grounding approach and enclosure materials. Exercise the peripherals while checking the interface. Include operating states that happen infrequently but matter to the user, such as a printer starting or the system recovering from an interruption.
If a problem appears, record the conditions, configuration and repeatable steps before changing components. Share that evidence with the integration and touch teams. Dignity’s engineering and firmware-tuning capabilities can be discussed in relation to a defined project; their mention does not replace testing or guarantee that every system-level issue has a controller-only solution.
14. Make thermal conditions a system question
A display’s specified operating conditions are not the same thing as the ambient conditions outside the finished kiosk. The enclosure, other electronics, ventilation strategy and installation location can affect the conditions around the assembly.
Ask the display supplier to identify the applicable limits and any relevant installation constraints for the proposed configuration. Then evaluate the complete kiosk under representative operating conditions. Include expected duty patterns and the installation orientation. An outdoor cabinet needs an assessment that reflects its actual exposure rather than a room-temperature demonstration.
Keep design decisions traceable. If a new processor, power supply or enclosure finish changes the operating conditions, review whether previous tests still represent the product. A component substitution that looks harmless on a purchasing list can justify another integration check. Avoid publishing a general temperature range for a product family unless the relevant documentation supports that statement.
15. Design for maintenance before the first deployment
Ask somebody unfamiliar with the prototype to explain how they would replace the display. The answer often reveals whether service access has been designed or merely assumed. Consider the access door, fasteners, cable identification, working space and the handling of the replacement assembly.
Agree which items are intended to be replaced in the field and which should return to a service facility. Include the risk of damaging seals, cosmetic surfaces or neighbouring equipment during replacement. Where replacement affects a protective interface, define the inspection or checks needed before returning the kiosk to operation.
Request part identification and configuration records that distinguish compatible assemblies. A monitor with the same diagonal may have different mounting dimensions, connections or settings. Keep an approved replacement list and a clear change process. Ease of servicing should be evaluated as a purchasing requirement, not discovered after a terminal has been installed in a busy public location.
16. Recognise that different kiosks need different trade-offs
| Application | Questions to investigate | Useful prototype checks |
|---|---|---|
| Food ordering | Can customers navigate options clearly? What cleaning method is used? | Complete realistic orders, amend choices and clean using the agreed procedure. |
| Ticketing and check-in | How do luggage, queues, documents and other peripherals affect interaction? | Test the entire transaction, including collection and recovery from interruptions. |
| Visitor information | Can first-time users understand the interface from the intended position? | Evaluate search, navigation, text and viewing angles with representative users. |
| Vending and lockers | What environmental exposure and service access does the installation create? | Check operation in representative conditions and practise component replacement. |
Information and wayfinding terminals also overlap with interactive signage. Dignity’s article on PCAP touchscreens for digital signage and wayfinding explores that application context; the selection checks in this guide address how to integrate the display into a kiosk.
These examples are starting points for specification, not separate hardware prescriptions. Two food-ordering kiosks can have different needs because one stands inside a restaurant and another faces a semi-exposed collection area. Conversely, applications with different names may share a suitable display platform when their technical requirements align.
17. Compare quotations using the same assumptions
A lower unit price is difficult to interpret when one quotation includes cables and brackets while another excludes them. The same problem arises when suppliers assume different glass, touch configuration, testing or delivery arrangements. Bring the scope into alignment before comparing the numbers.
Separate sample costs, engineering work, tooling where applicable, production pricing and optional features. Ask what must be confirmed before a sample can be built and what changes could trigger a new quotation. Request a documented statement of supply rather than relying on a picture and a short product description.
Discuss expected quantities, purchasing patterns and the intended service life of the kiosk. Ask how component changes, configuration revisions and replacement needs will be communicated. Do not assume a particular minimum order quantity, lead time or availability period. These are commercial and technical details to confirm for the actual project.
18. Send an RFQ that invites a useful answer
A request for quotation becomes more effective when it distinguishes mandatory requirements from preferences. If a feature is negotiable, say so. The supplier can then propose alternatives without guessing which aspects of the design are fixed.
- Application: kiosk function, user journey, installation location and target markets.
- Mechanical information: cabinet drawings, available space, opening, mounting concept and access direction.
- Display requirements: intended size, orientation, interface mock-up and readability conditions.
- Touch requirements: gestures, edge interaction, gloves, moisture and expected contaminants.
- Front construction: cover material, printing, treatments, cleaning method and any required protection evidence.
- Electronics: computing platform, software environment, video and touch interfaces, power and peripherals.
- Validation: representative test conditions, acceptance criteria and responsibility for system-level assessment.
- Commercial scope: sample quantity, expected production demand, target milestones and service requirements.
Where you do not yet know an answer, describe the uncertainty. A clear question about a design constraint is more useful than an unsupported specification copied from another product. Dignity’s downloadable documentation can support discussions, but the selected configuration and its current documentation should always be confirmed.
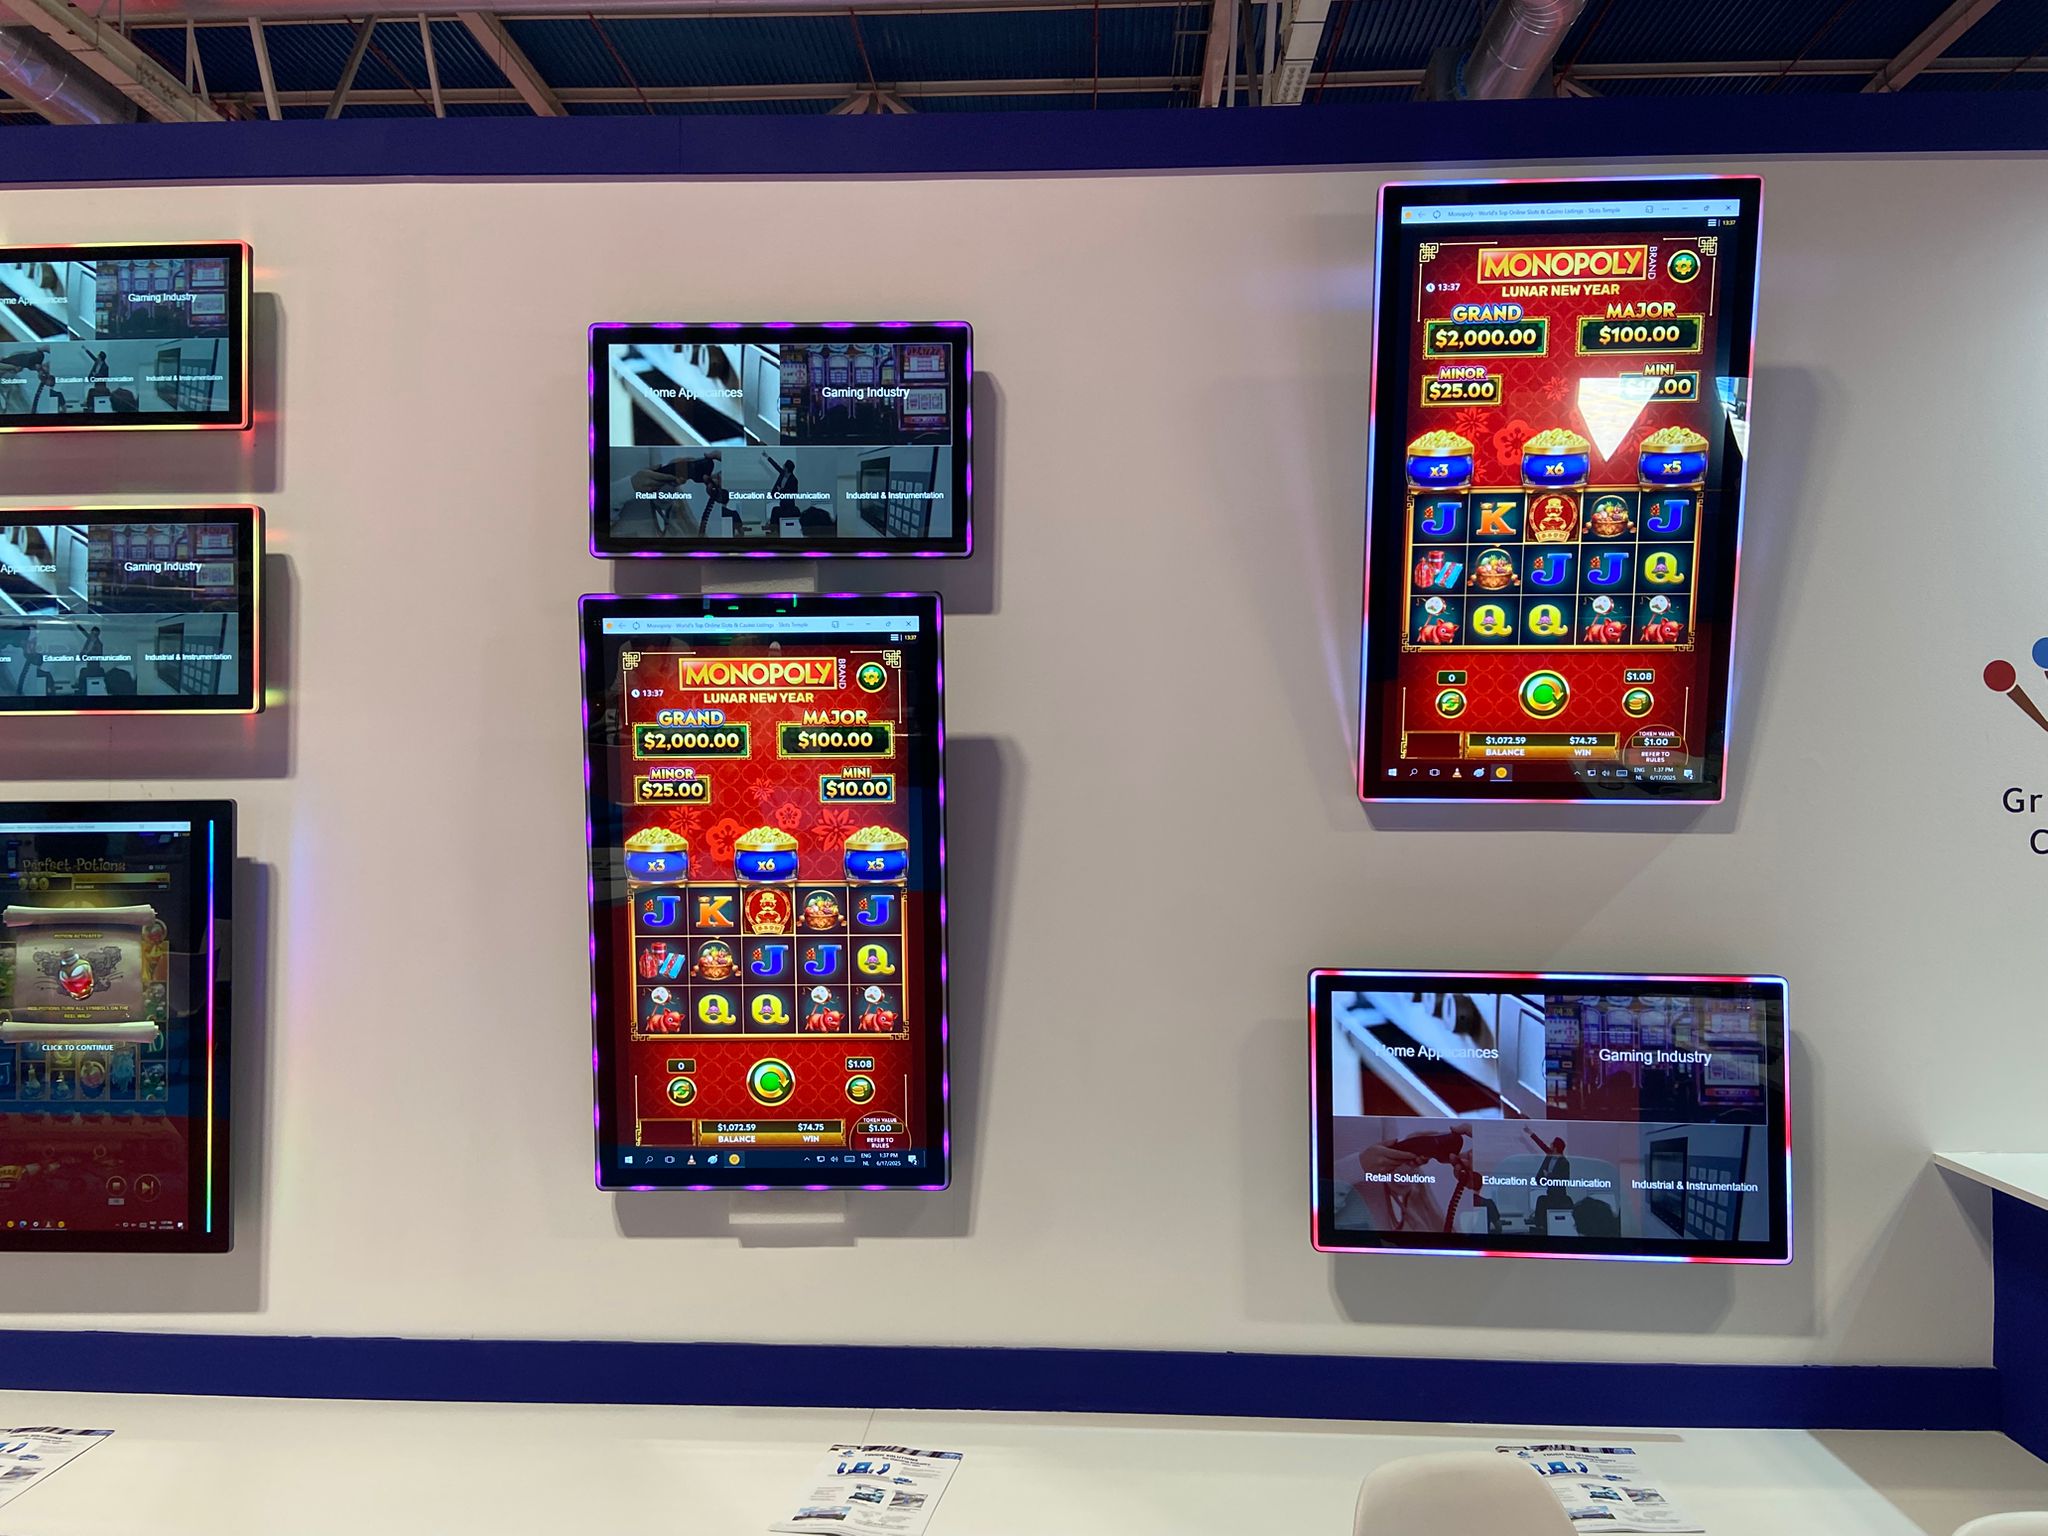
19. Approve the prototype against written criteria
Before testing begins, agree what counts as a pass, a failure and an observation requiring investigation. “The screen feels responsive” is useful feedback, but it is difficult to reproduce. A defined sequence of user tasks provides a better basis for comparing configurations and retesting a change.
Keep a record of hardware identifiers, configuration versions, cables, software and the test environment. Check visual appearance, interaction, peripheral operation, restart behaviour and service access. Where environmental or compliance testing is required, establish the relevant method and responsibility with the appropriate specialists.
After a change, review which tests remain valid. A different cover, revised cabinet opening or alternative power supply can alter the relevance of previous results. Approval should apply to a defined assembly, not simply to a product name. That discipline makes the transition from a successful sample to repeatable production much easier to manage.
Frequently asked questions
What is the best touchscreen size for a self-service kiosk?
There is no single size that suits every transaction. Choose using the application layout, viewing position, reach, cabinet constraints and required information. Evaluate a full-size mock-up before fixing the mechanical design, and distinguish screen diagonal from the complete assembly dimensions.
Does a kiosk need an open frame monitor?
An open frame design is an integration option when the monitor sits inside equipment. Other arrangements may suit a different installation. Compare mounting, appearance, protective interfaces and service access rather than assuming that the same enclosure style is right for every kiosk.
Will any PCAP touchscreen work with gloves?
No such assumption should be made. The relevant controller, sensor, cover and configuration must be assessed with the intended gloves and operating conditions. Ask for evidence from a representative assembly and define which interactions must work.
Does a front IP rating apply to the whole kiosk?
Do not assume that it does. Ask which assembly and surfaces were evaluated, what installation conditions apply and how the final enclosure is validated. Connections, openings and other components must be considered within the finished design.
Should I choose a standard or custom kiosk display?
Start by identifying requirements that a documented standard configuration can meet. Consider customization when a defined mechanical, optical or interaction requirement justifies it. Compare engineering effort, validation and service implications as well as the production price.
Turn the kiosk brief into a display discussion
The most useful touchscreen selection process connects the customer experience with the engineering detail. Define the task, establish the supply boundary, test the installed assembly and document what has been approved. This creates a stronger starting point than choosing by screen size or collecting impressive but unrelated specifications.
Dignity describes custom touch panels, display integration and engineering support for OEMs and integrators. To discuss a kiosk project, send your application description, mechanical constraints, expected operating conditions and sample requirements through the Dignity Europe contact section. Ask the team to confirm the configuration, documentation and validation needed for your application before placing an order.